Connect your invoicing email
If you already issue electronic invoices, do not type anything twice. Your invoicing tool sends the invoice to your Cobbi inbox and the charge is created on its own, with the customer, the amount and the due date that come in the XML.
We never ask for your invoicing password and we do not connect to your account. It is just email.
Do it in three steps
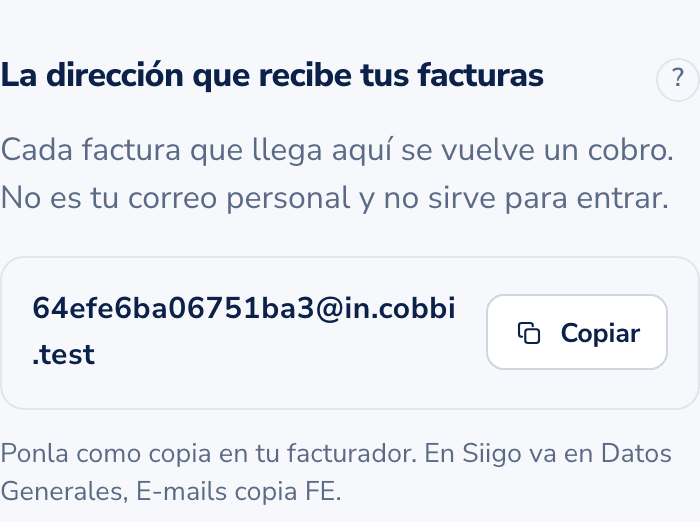
- In Settings, copy your inbox address. It is unique to you and it only receives your invoices.
- If you use Siigo, turn on automatic forwarding of invoices to that address right there. With other invoicing tools you may need to set up the forwarding rule yourself, in your own mail provider, because not all of them let you send a copy to a fixed address.
- Send a test invoice and approve the sender when we ask. That is all it takes.
Why we ask you to approve the sender
That inbox is open to the internet: anyone could email it. Before a charge ever messages your customer, we check three things:
- The email really comes from where it says it comes from (SPF and DKIM). If this fails, the email is rejected: there is no invoice to save.
- The sender is on your approved list. A new sender is not rejected: the invoice still comes in, but the charge stays paused for review until you confirm it.
- The tax id issuing the invoice is yours. If it does not match, it is not rejected either: the charge stays paused with the reason in plain sight, and you decide. The one exception is a credit note: that one is rejected, because netting a balance has no in-between state.
What these checks protect is not whether the email gets in, it is that no WhatsApp message goes out to a third party before you have looked. So, except for SPF/DKIM and credit notes, the invoice is never lost: it is saved and waits for your decision.
In the meantime
Invoices you issued before connecting the inbox do not come in on their own. Those you create by hand or upload in Excel.
Was this helpful?